#1 Update Regularly
- Backup your website prior to running any updates on your WordPress website.
- Deactivate and Delete any unused or inactive plugins.
- Check for plugin and theme updates daily and update after first completing a current backup of your website.
- Check website after completing updates to ensure the update didn’t cause any errors.
- Only update your website on Trusted Networks.
#2 Use Strong Passwords
- Do NOT reuse passwords.
- Do NOT use admin, site name, or password in your username or password.
- Use a combination of letters, numbers and symbols in your passwords.
- Install WPS Hide Login to redirect your website’s login to the URL you choose.
HOW TO INSTALL AND SETUP WPS HIDE LOGIN PLUGIN
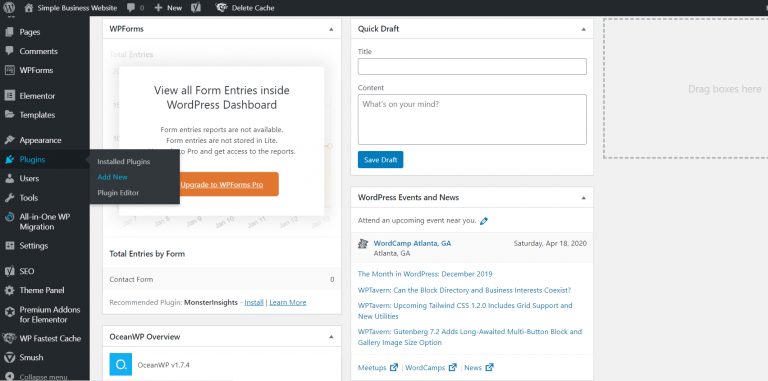
- Login to your dashboard
- Select Plugins >> Add New
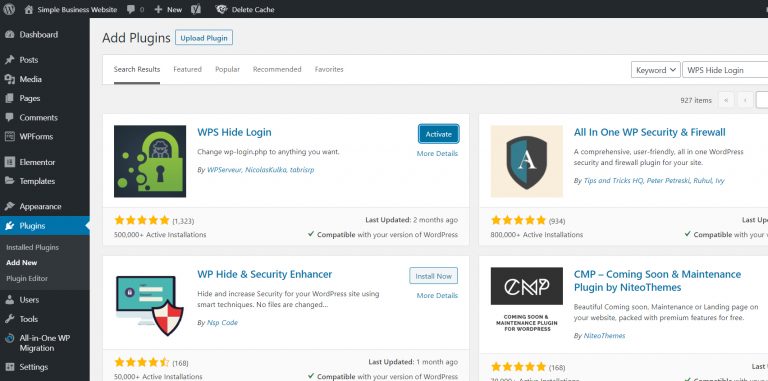
3. Search for WPS Hide Login and Click Install and then Activate.
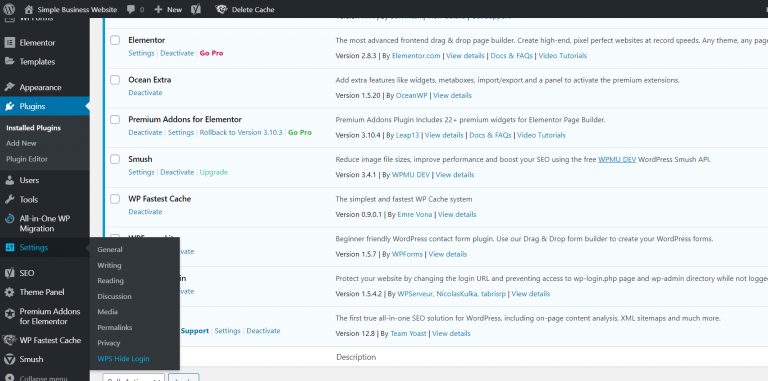
4. Go to Settings >> WPS Hide Login
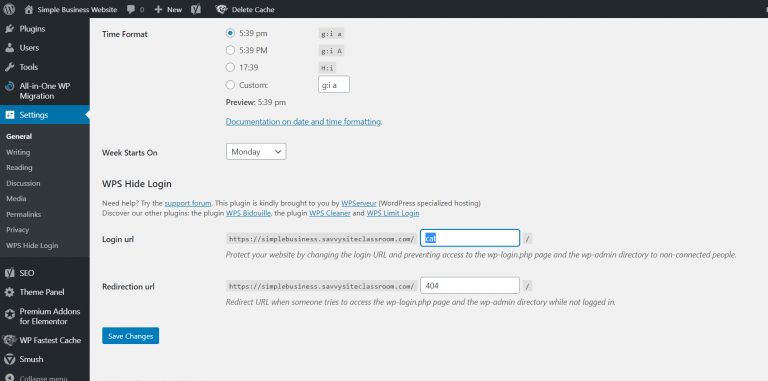
5. Edit the Login URL to something else. This will be your new login URL.
#3 Install A Security Plugin AND/OR Firewall
- Install a security plugin to protect your website from attacks. I recommend iTheme Security.
- For added protect you can add a Firewall to your website. I recommend One Hour Site Fix.
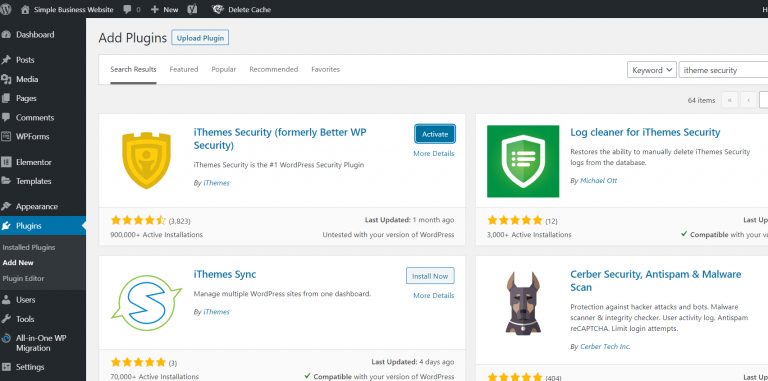
HOW TO INSTALL AND SETUP iTHEME SECURITY PLUGIN
- Login to your dashboard
- Select Plugins >> Add New
- Search >> iTheme Security
- Install and Activate.
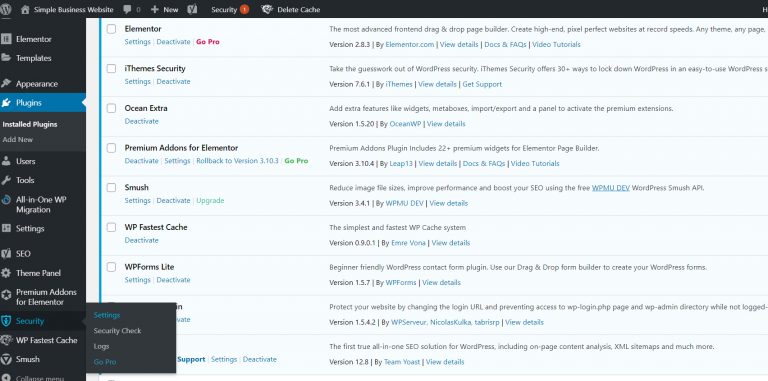
5. Go to Security >> Settings
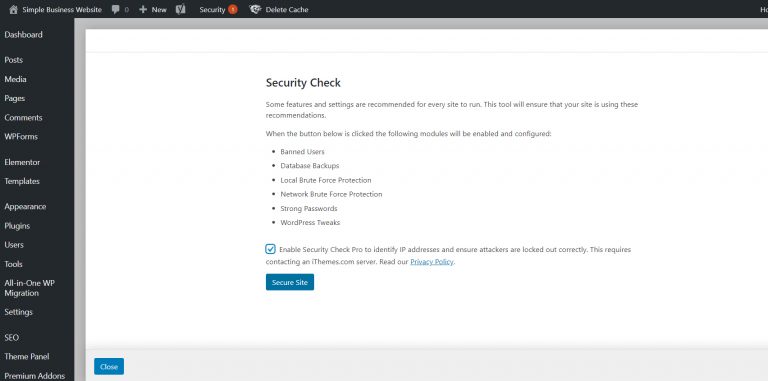
6. Check Enable Security Check….
7. Click Secure Site
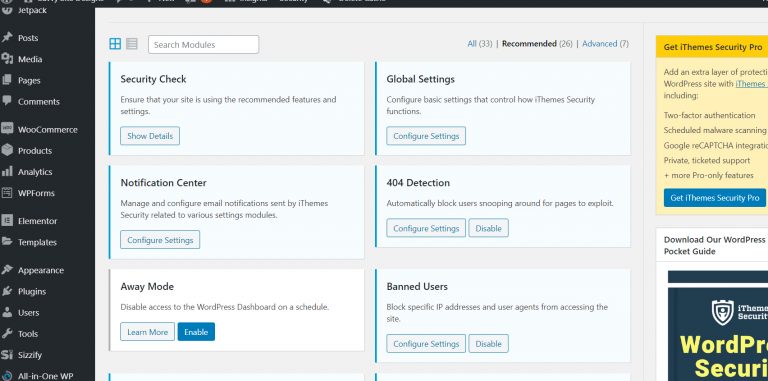
8. After Site is Secured. Go through all settings and enable all that apply.
Security >> Settings
#4 Install An SSL Certificate
- Purchase and install an SSL certificate. (You purchase SSL’s through your hosting company and you can have them install it for you or you can select and install it through your hosting account. If your hosting is with Host Gator, use our SavvySiteDesigns promo code.)
- Install and Activate Simple SSL Plugin.
- Update your itheme Security plugin to redirect to https instead of http.
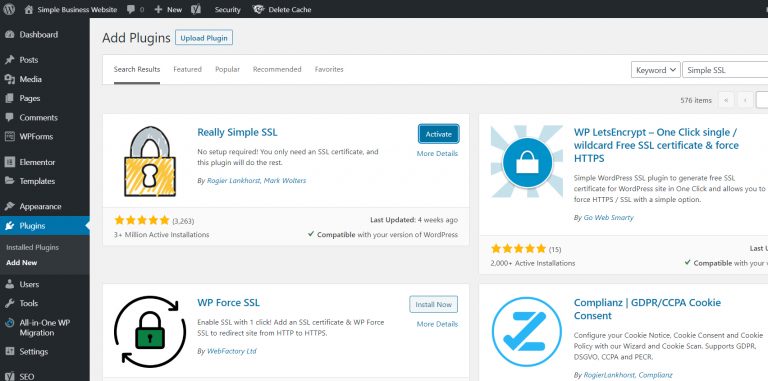
HOW TO INSTALL SIMPLE SSL PLUGIN
- Login to your dashboard
- Select Plugins >> Add New
- Search >>Simple SSL
- Install and Activate.
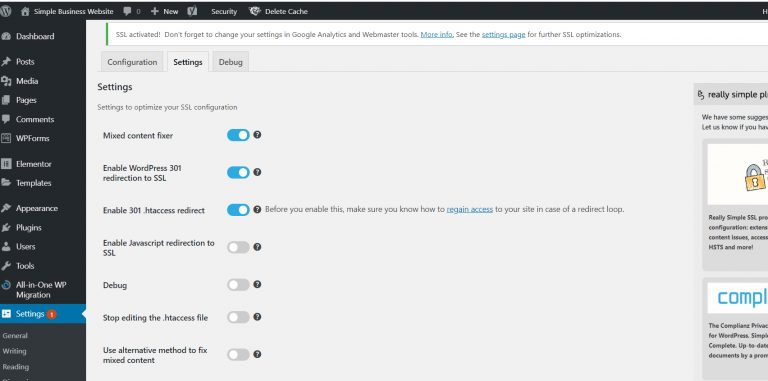
5. Click Go Ahead, activate SSL.
6. Go to Settings >> SSL
7. Click Setting Tab and Enable 301 .htaccess redirect.

#5 Backup Website Regularly
- Install and Activate either All-In-One Migration and/or Updraft Plus to your website.
- Schedule backups with UpDraft.
- Make sure you backup prior to doing any theme or plugin updates.
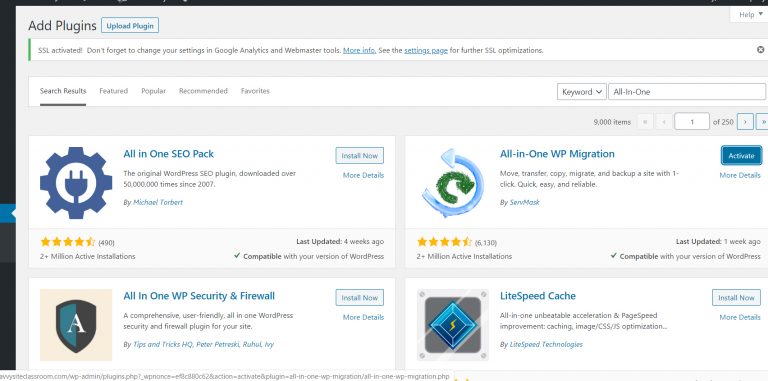
HOW TO INSTALL AND USE ALL-IN-ONE MIGRATION PLUGIN
- Login to your dashboard
- Select Plugins >> Add New
- Search >>All-In-One Migration
- Install and Activate.
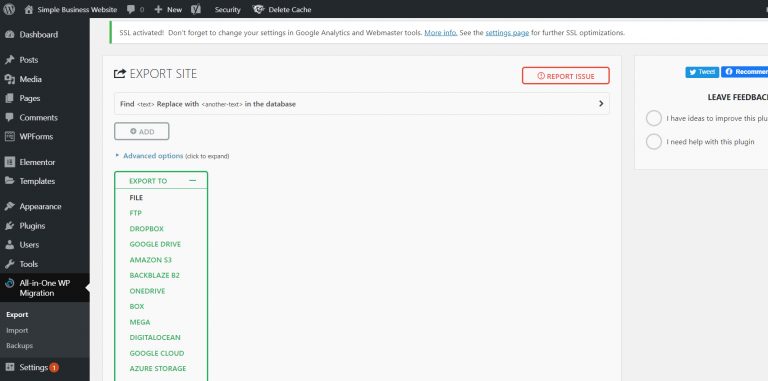
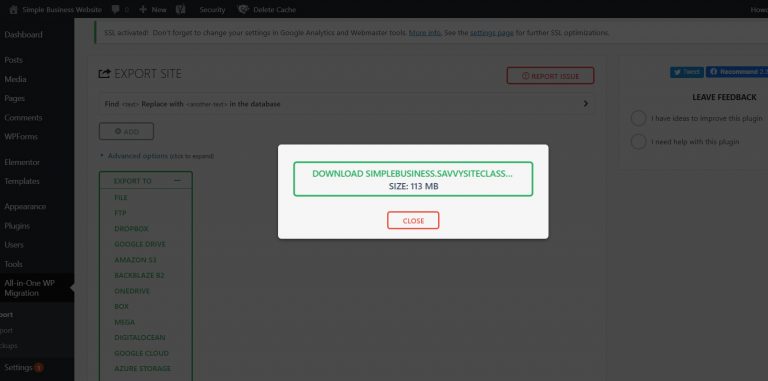
- To backup your website go to All-In-One Migration >> Export.
- Choose Export To >> File. (You have many export to options, choosing file will download the backup to your computer.)
- After export is complete click Download.
- Close after download completes.
HOW TO INSTALL AND USE UPDRAFT PLUS PLUGIN
- Login to your dashboard
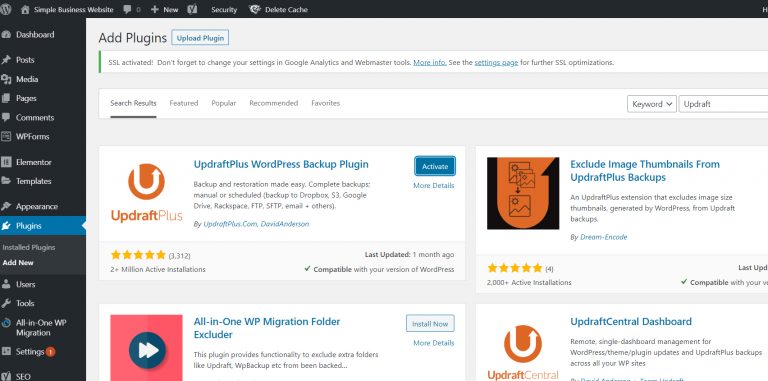
- Select Plugins >> Add New
- Search >>UpDraft Plus
- Install and Activate.
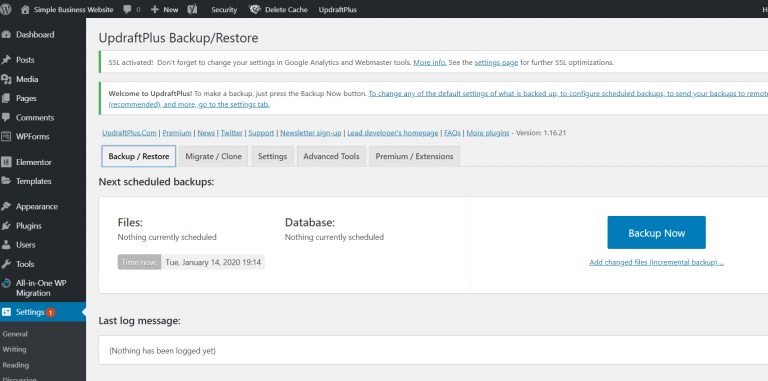
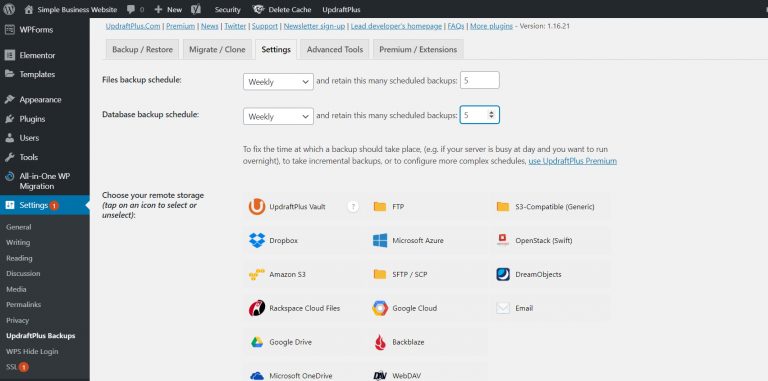
- Go to Setting >> Updraft Plus Setting
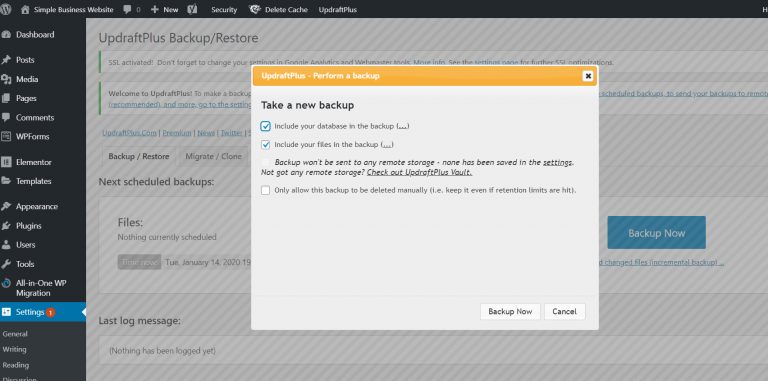
- Click Backup Now
- To setup scheduled backup. Click Settings tab.
- Choose daily, weekly, etc.
- Choose how many to keep.
- Choose where they will go. (Google Drive, DropBox, etc…)
#6 Prevent SPAM
- Manage Post Comment Settings.
- Add Google reCapticha to all forms.
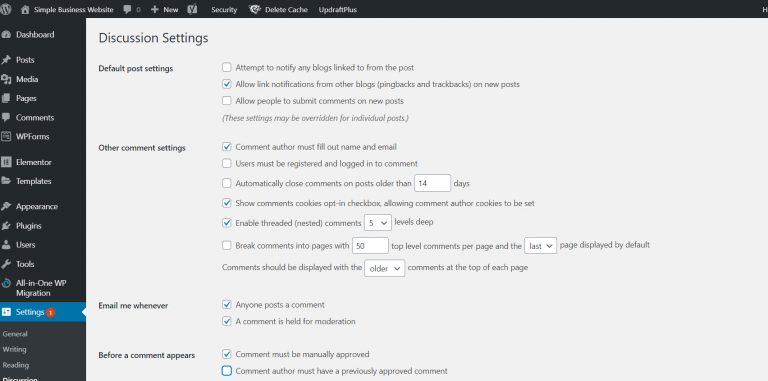
HOW TO MANAGE POST COMMENTS
- Login to your dashboard
- Go to Settings >> Discussion
- Update and Save Changes.
You can choose what works for your needs, but below we have listed a few tips.
1. Reduce the number of links allowed per post
Manage under Comment Moderation.
2. Create a list of ‘blacklisted’ words
Manage under Comment Blacklist, here is Github list of comment blacklist for WordPress.
3. Restrict comment privileges to registered users.
4. Approve all Comments or Don’t allow comments.
HOW TO ADD RECAPTCHA TO FORMS
- Create A Google Account
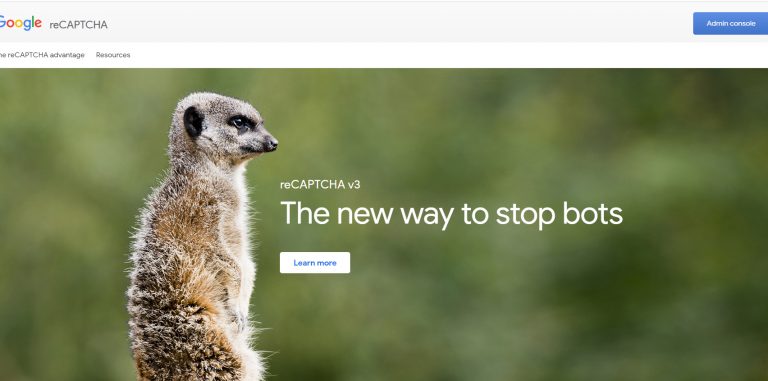
- Go to Google ReCaptcha
- Click Admin Console
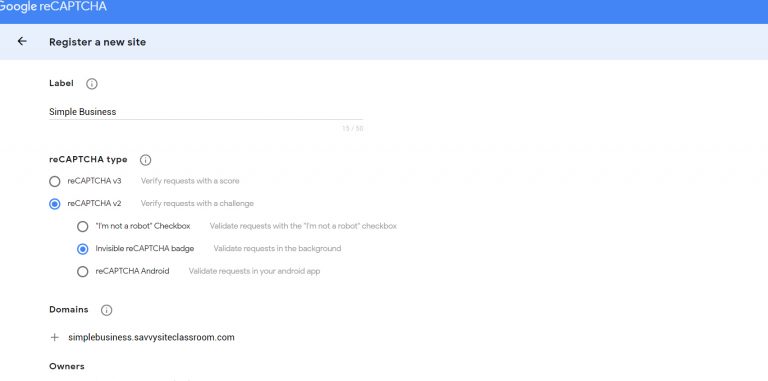
- Insert Label or Name
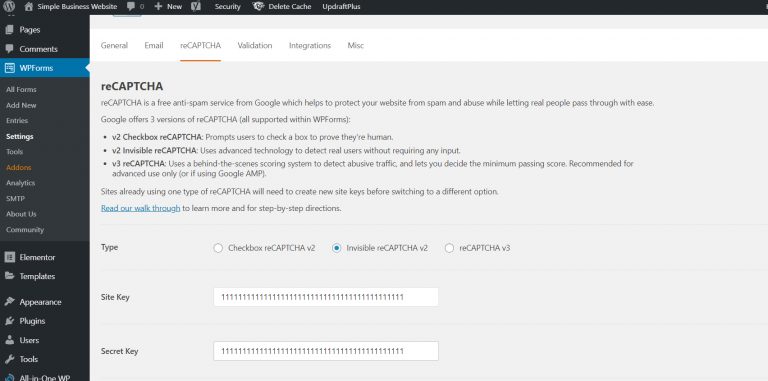
- Choose reCAPTCHA v2
- Select Invisible or Checkbox style.
- Insert the domain you want to attach.
- Check terms of service.
- Check to receive notifications.
- Click Submit.
- Your reCaptcha keys will display. Keep these secret.
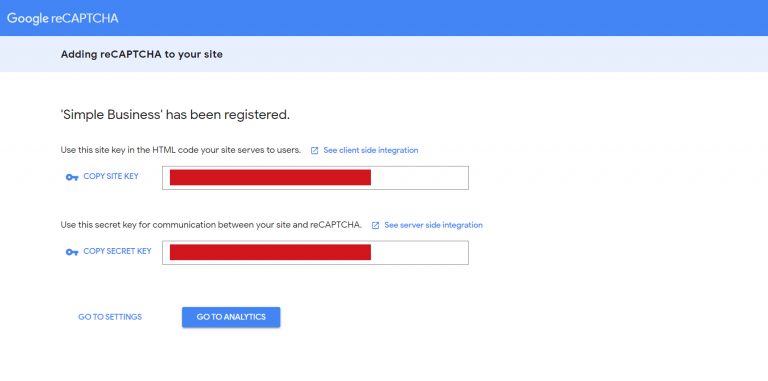
12. Open a new window in your browser and login to your site’s dashboard.
13. Go to WP Forms >> Settings.
14. Click on the reCaptcha tab.
15. Copy and Paste in your keys.
16. Save Settings.
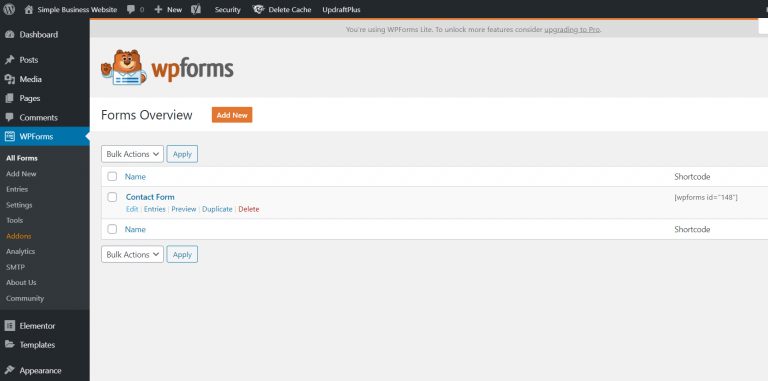
17. Go to WP Forms >> All Forms.
18. Select Form >> Edit.
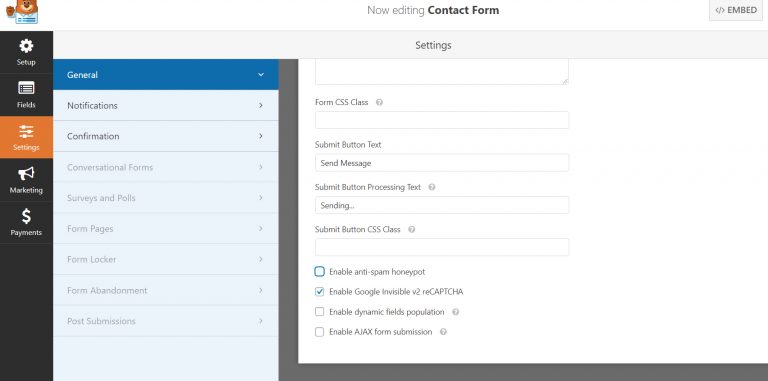
19. Click Settings >> General
20. Scroll to the bottom and check enable reCaptcha.
21. Save Changes.
22. Repeat for all forms.
#7 MONITOR REGULARLY
- Search your website frequently on Google.
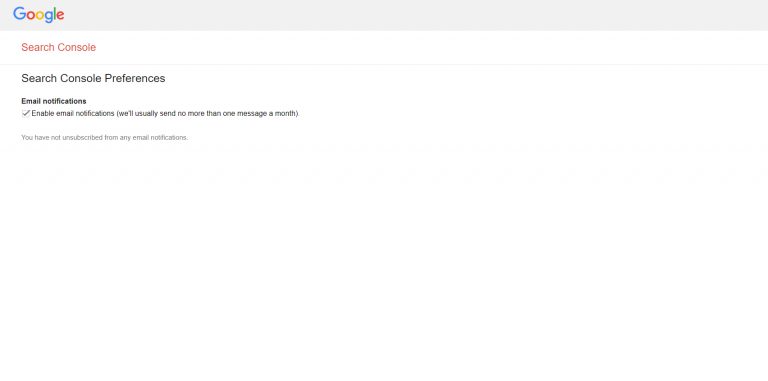
- Make sure you have enabled Google Console Email Alerts.
- Watch for any unexplained spikes in traffic using Google Analytics.
HOW TO SETUP GOOGLE SEARCH CONSOLE
- Create A Google Account
- Go to Google Search Console
- Click Start Now
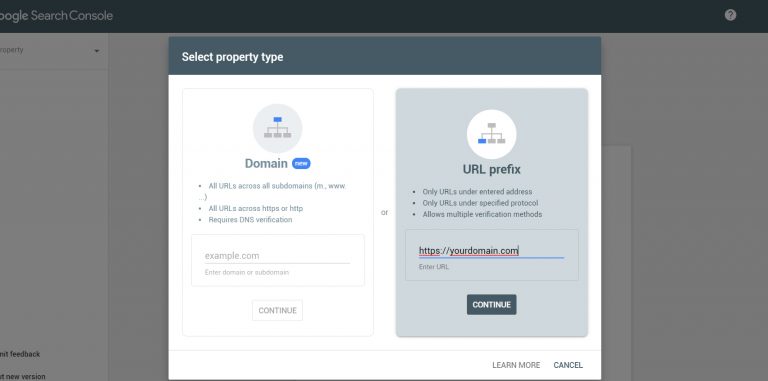
- Type Website URL under URL Prefix.
- Choose HTML Tag and copy link.
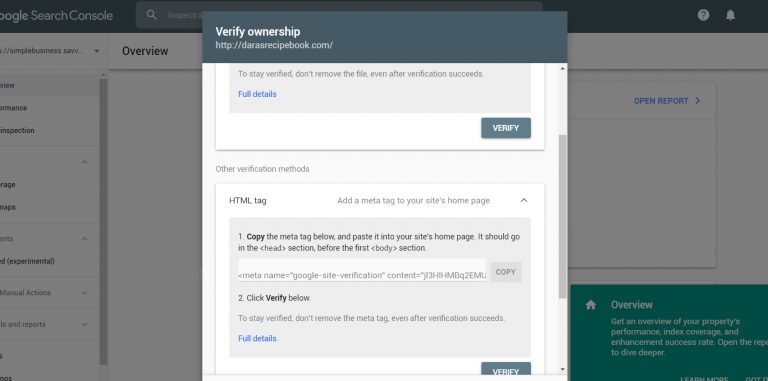
6. Login to Website Dashboard.
7. Install and Activate Yoast Plugin, if not already installed.
8. Go to Yoast >> Settings
9. Click Webmaster Tab.
10. Paste link under Google.
11. Click Save.

12. Go Back to Google Search Console.
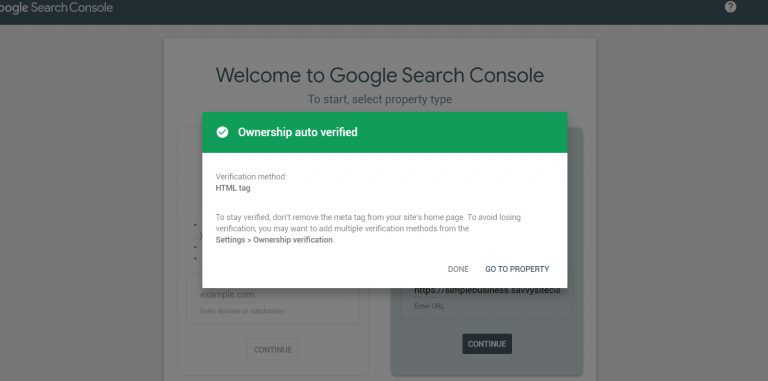
13. Click Verify.
14. Make sure Email Alerts are activated.
HOW TO SETUP GOOGLE ANALYTICS
- Create A Google Account
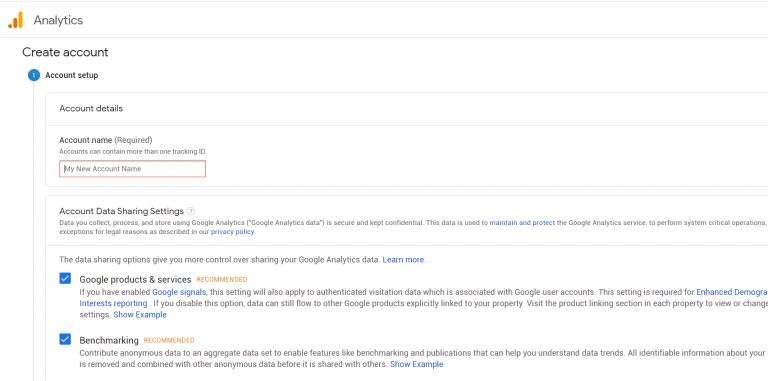
- Go to Google Analytics
- Click Start Measuring
- Fill out Domain Title and select settings.
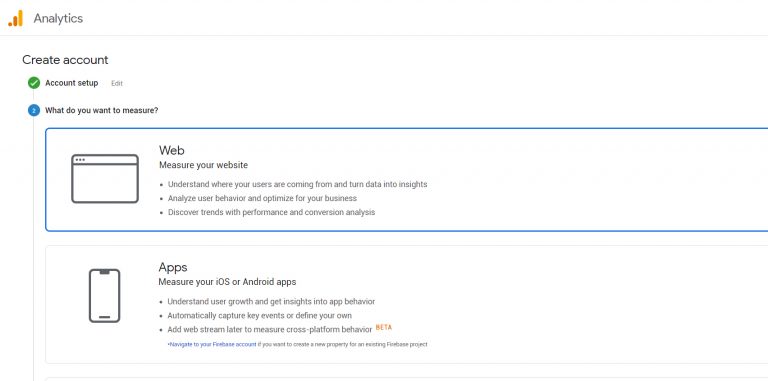
- Choose Web for type.
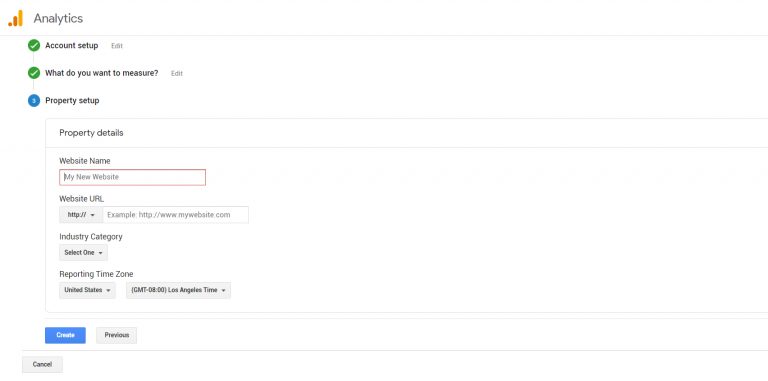
- Add Website Details and Click Create.

HOW TO ADD GOOGLE ANALYTICS TO YOUR WEBSITE
- Login to your dashboard.
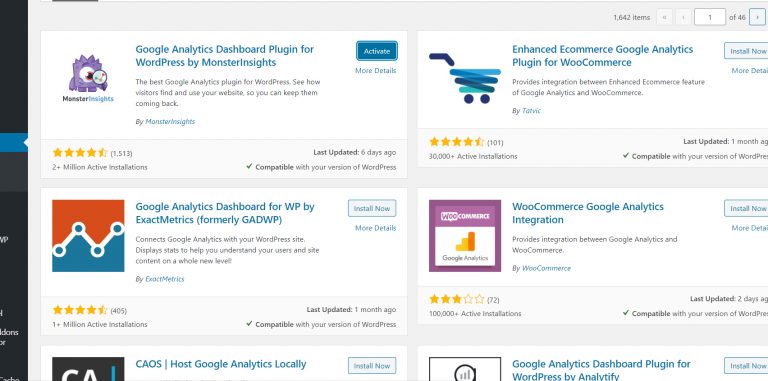
- Go to Plugins >> Install New
- Search Google Analytics
- There are two primary plugins to choose from today we are going to Install and Activate MonsterInsights.
- This Plugin has a free and pro version, but we will setup the free.
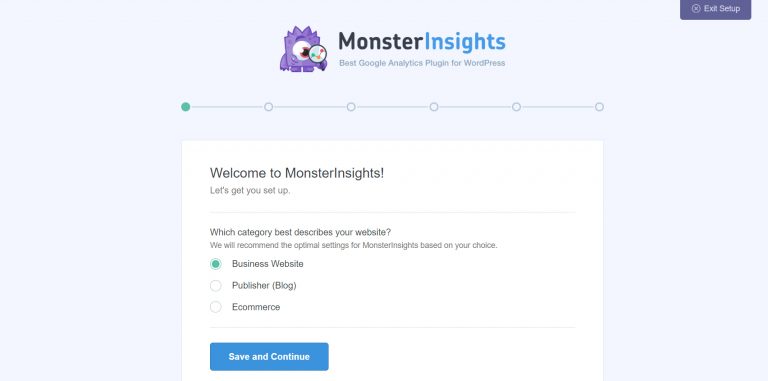
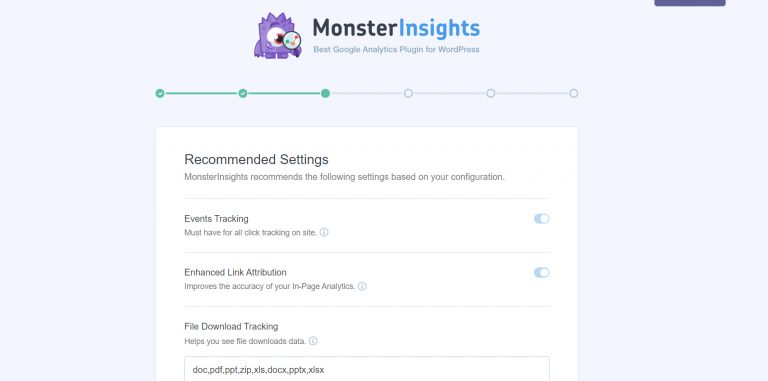
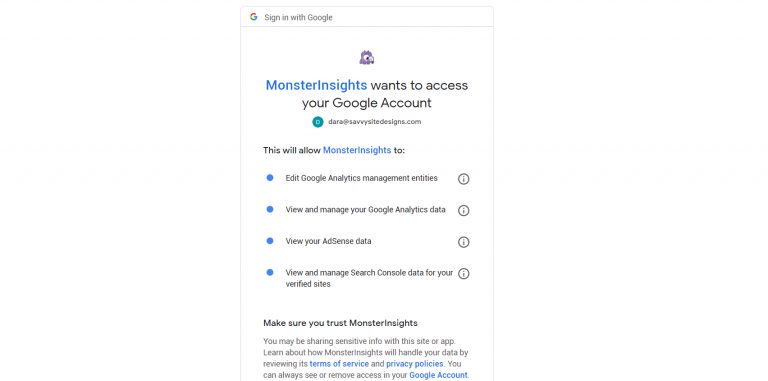
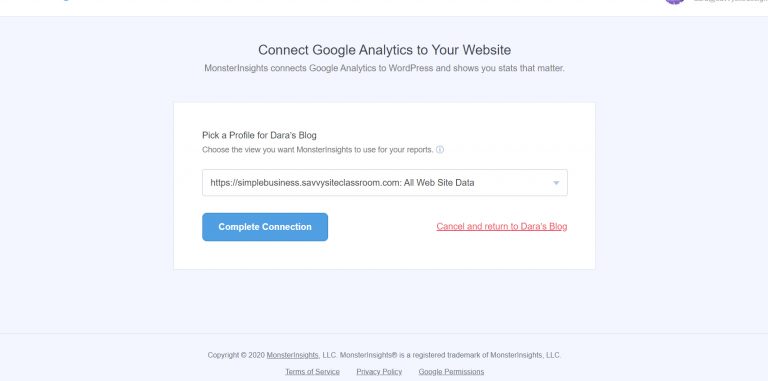
- After Activated Click Connect and Setup MonsterInsights.
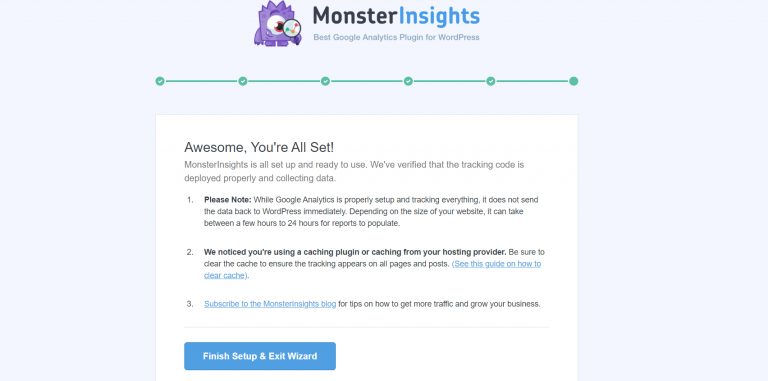
- Follow Setup Process.
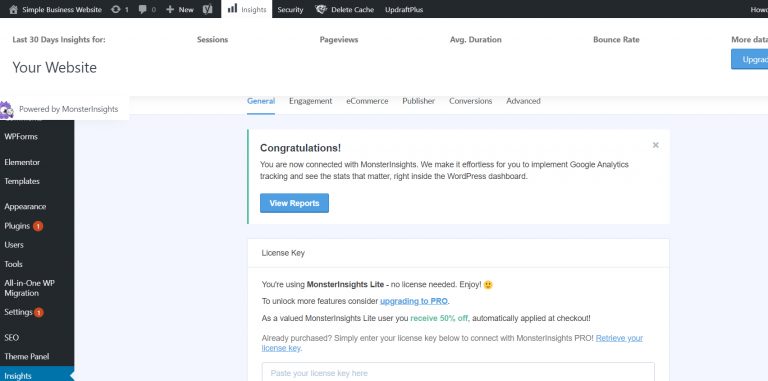
- To check your traffic click the Insights icon on your dashboard’s top navigation bar.
(It may take up to 24 hours to begin to see the traffic from your website.)


We hope you found this article and video tutorial useful. We do offer monthly packages that include website security, so if you are interested in learning more about our packages or just have any questions, please feel free to Contact Us.