A posting calendar ends the daily “what now?” scramble and makes results predictable. With pillars, formats, and a repeatable workflow, you’ll publish faster—and your audience will actually recognize you.
Step 1: Lock your pillars
Choose 3–5 themes tied to services: Web Design, eCommerce, SEO, and Automation. Translate each into repeatable post types (tips, case snippets, myths vs. facts, checklists, founder notes). Mirror your blog plan so distribution is built-in.
Step 2: Build a weekly rhythm
Mon: tutorial tip (clips or carousel).
Wed: proof (review or case metric).
Fri: conversation or behind-the-scenes.
1×/week: CTA to a landing page.
Batch ideas once a month; schedule weekly.
Step 3: Create the asset checklist
For each post: hook, 3 bullets, CTA, square image (and optional vertical cut), alt text, and UTM’ed link. Save a library of background templates and icon sets to move fast while staying on brand.
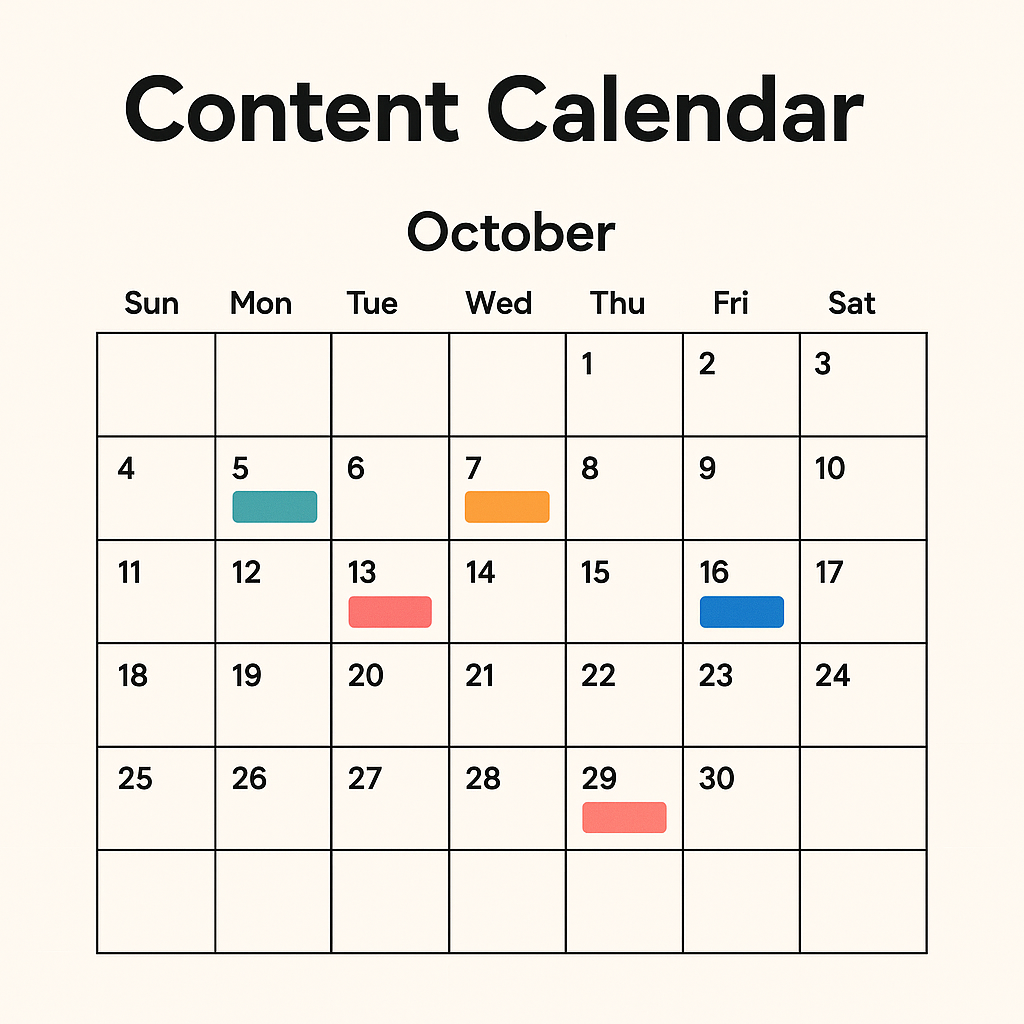
Step 4: Map 90 days in one view
Drop post titles into a month grid with colored tags per pillar. Add due dates for draft, design, review, schedule, and publish. Include notable dates (local events, holidays) and product/service pushes.
Step 5: Automate reminders and repurposing
Use lightweight automation to remind you of “draft due” and “review due,” and to convert each post into an email snippet or LinkedIn text post. For more advanced flows, see AI Automation Solutions.
Accessibility and brand consistency
Use large type, high contrast, and captions on videos. Keep a short brand guide with font sizes, spacing, and color tokens. Accessibility standards make your content easier to consume and more shareable.
Measurement and iteration
Track profile clicks, UTM’d website sessions, and assisted conversions. Review performance monthly by pillar and format. Keep what works, retire what doesn’t, and test two new patterns. Feed winners back into your email nurture.